Waterproofing Essentials Every Homeowner Should Know
Water creeps silently. One small leak becomes a costly flood. Waterproofing bathroom remodel protects your investment. It stops rot, mold, and structural damage. Every shower, every tile, every seam matters. Build it right the first time. Live worry-free.Why Waterproofing Matters During Remodels
Moisture hides behind walls. It soaks into studs and subfloors. Left unchecked, it warps wood and grows mold. Proper sealing prevents thousands in repairs. Peace of mind starts with planning.Common Water Entry Points
Shower pans crack over time. Grout lines absorb water. Caulk fails at edges. Plumbing joints loosen. Know where water sneaks in.Choose the Right Waterproofing System
Sheet membranes offer full coverage. Liquid-applied coatings fill gaps. Combine both for maximum protection. Match the system to your layout.Sheet Membranes: The Gold Standard
Polyethylene or PVC sheets bond to surfaces. They create continuous barriers. No seams mean no leaks. Ideal for curbless showers.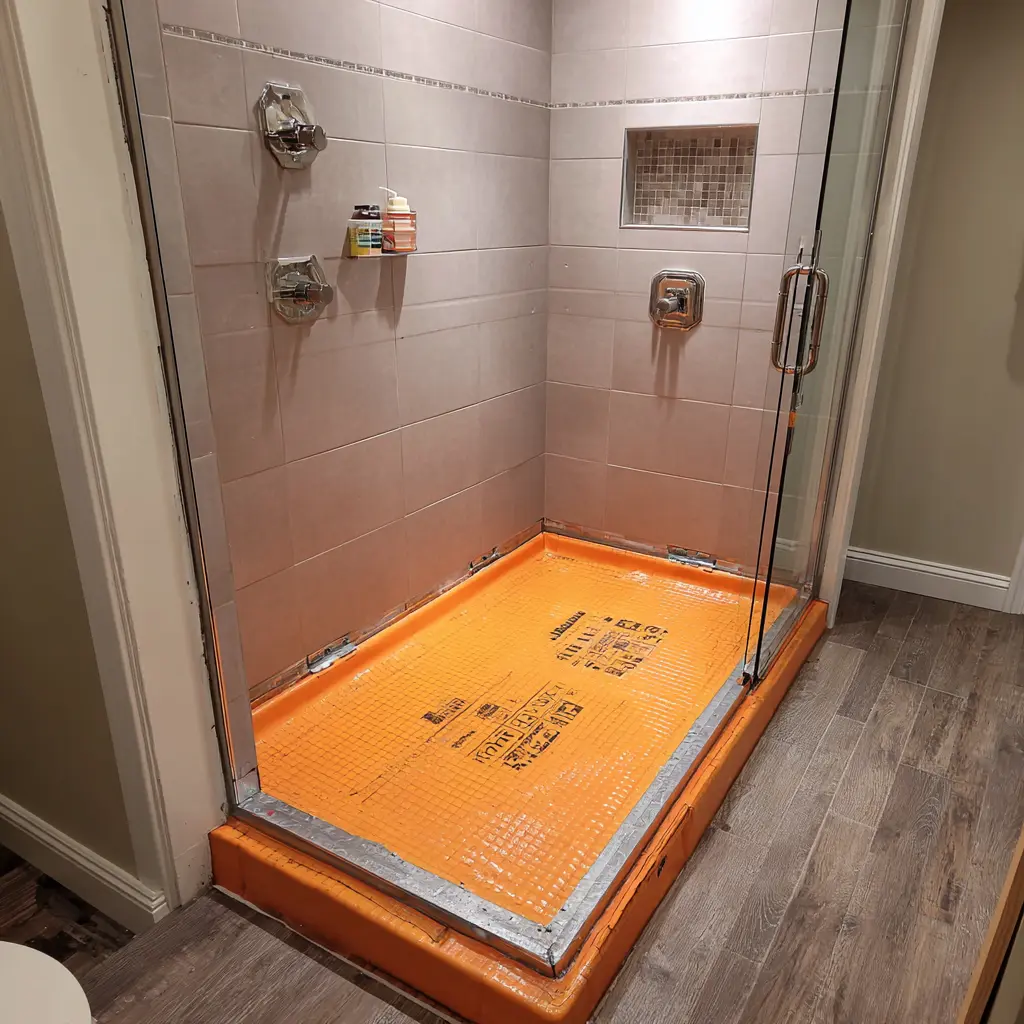
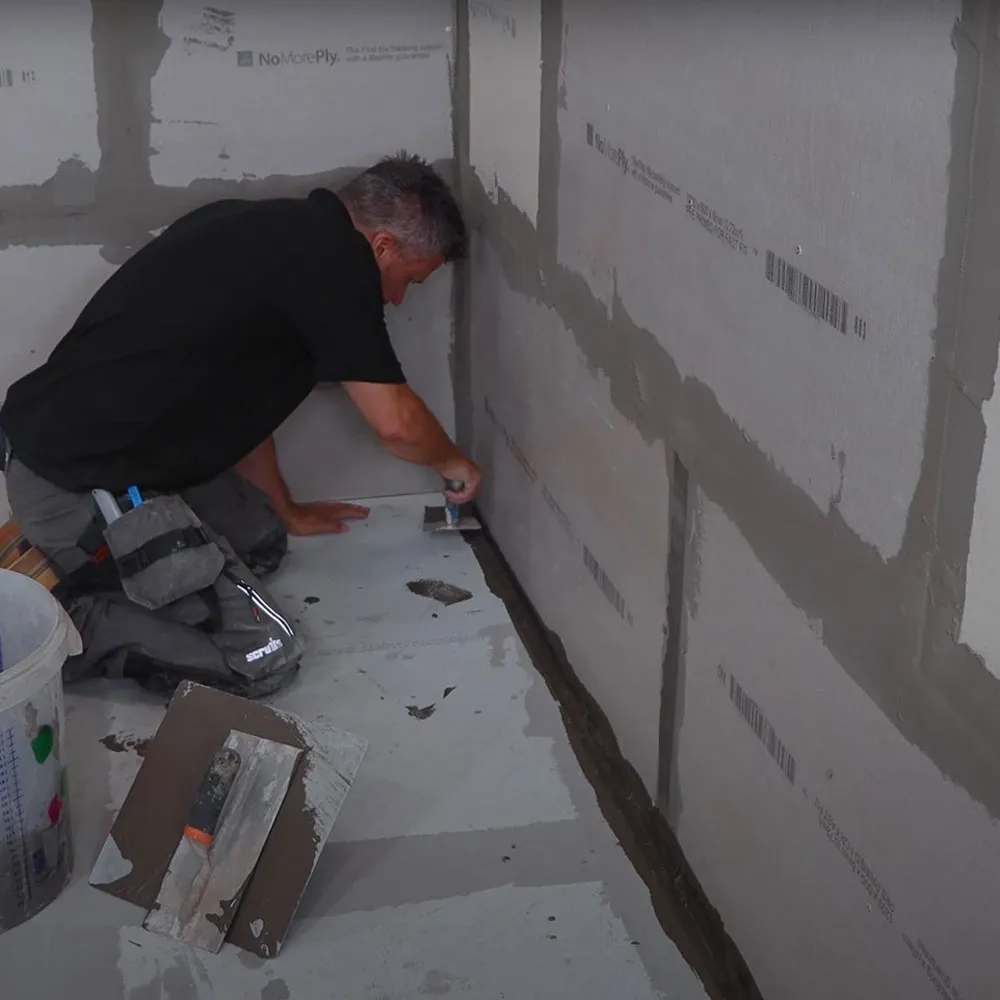
Prepare Surfaces for Success
Clean substrates thoroughly. Remove dust, grease, and old adhesive. Patch cracks with hydraulic cement. Prime porous surfaces. A smooth base ensures adhesion.
Slope to Drain: Gravity Is Your Friend
Build a 1/4-inch per foot slope. Water flows to drains, not corners. Pre-sloped pans simplify the job. Test with a level.
Seal Every Seam and Joint
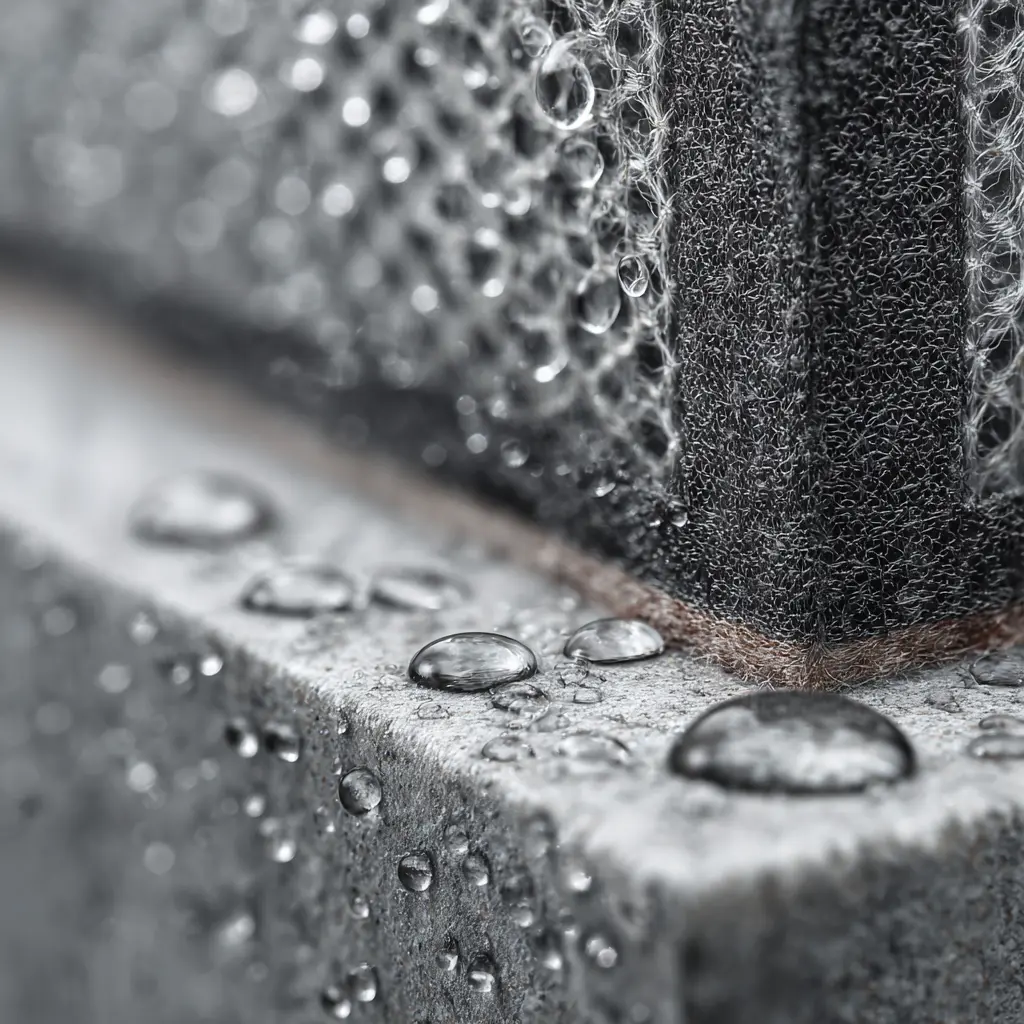
Use waterproof tape at corners. Overlap sheets by 2 inches. Seal pipe penetrations with rubber gaskets. Double-check transitions. Details make the difference.
Inside Corners Need Extra Love
Fold membrane into corners. Add reinforcement fabric. Apply liquid membrane over tape. Cure fully before tiling.
Waterproofing Bathroom Remodel: Floor Protection
Floors take constant abuse. Seal the entire surface, not just the shower. Use pan liners under tile. Extend up walls 6 inches.
Pan Liners vs. Topical Membranes
Traditional PVC liners sit under mortar. Topical systems go over backer board. Choose based on tile type and layout.
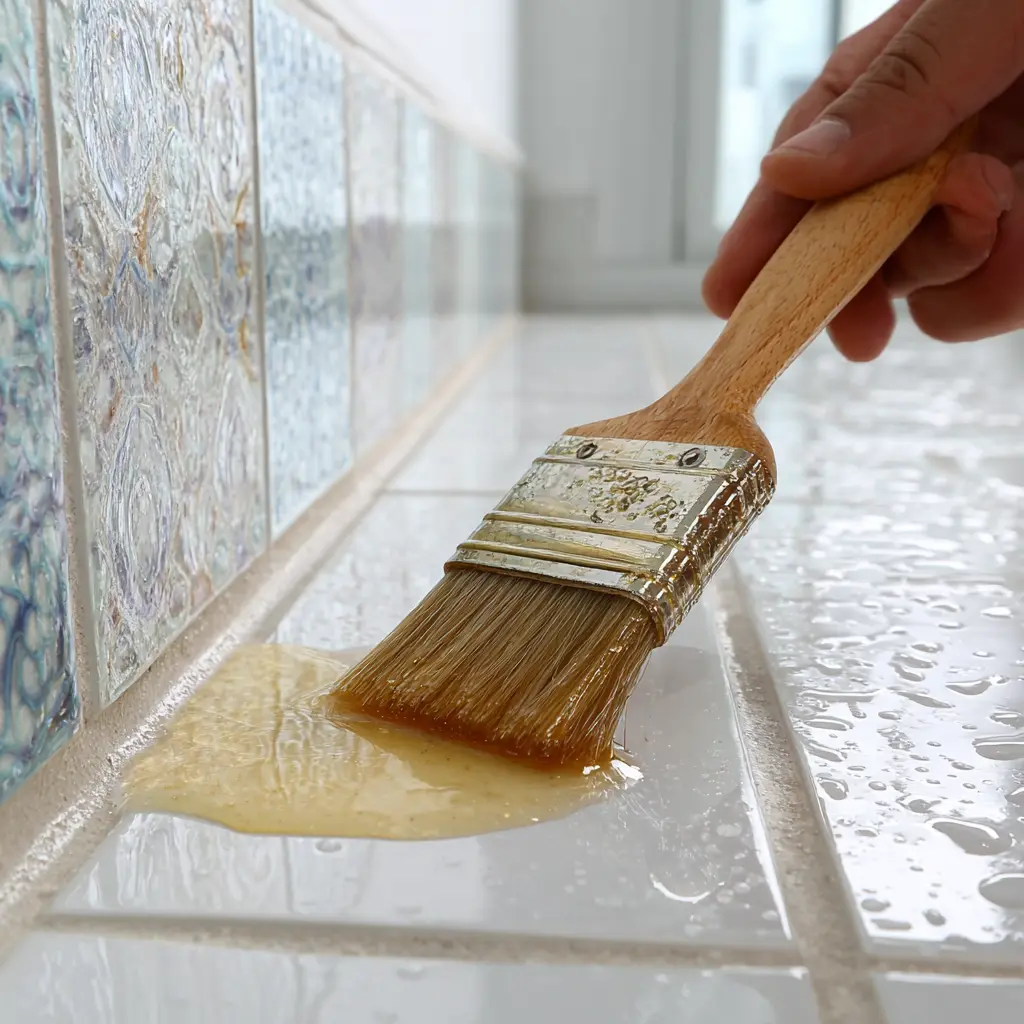
Tile and Grout: The Final Barrier
Large-format tiles reduce grout lines. Epoxy grout resists stains. Seal natural stone annually. Maintenance extends waterproofing life.
Sealing Bathroom Floors Properly
Apply penetrating sealer to grout. Test absorption with water drops. Reapply every 1–2 years. Simple steps prevent future headaches.
Plumbing Penetrations: Seal Tight
Pipes move slightly with temperature. Use flexible sealants around escutcheons. Install rubber gaskets at shower valves. Test for leaks before closing walls.
Shower Valve Waterproofing Tips
Wrap mixing valves in membrane. Extend protection behind walls. Use blocking for solid mounting. No water reaches framing.
Wall Protection Beyond the Shower
Splashes hit vanity backsplashes. Steam condenses on ceilings. Apply waterproof paint in wet zones. Use moisture-resistant drywall everywhere.
Green Board vs. Cement Board
Cement board wins in showers. Green board works for dry areas. Never use standard drywall near water. Choose wisely.
Test Your Work Before Tiling
Flood test shower pans for 24 hours. Check for leaks at drains and corners. Fix issues now, not later. One test saves thousands.Pressure Testing Plumbing Lines
Cap pipes and pressurize to 50 PSI. Hold for 15 minutes. No drop means no leaks. Confidence before drywall.Avoid These Waterproofing Mistakes
Skipping primer leads to failure. Cutting corners at drains invites disaster. Rushing cure times weakens bonds. Learn from others’ errors. Want to dodge bigger pitfalls? Read our guide on Remodeling Mistakes to Avoid.Maintenance Keeps Waterproofing Strong
Recaulk annually. Clean drains monthly. Inspect grout quarterly. Fix small cracks immediately. Long-term care equals long-term protection.Quick Weekly Checklist
Wipe down walls. Squeegee glass. Check caulk integrity. Run exhaust fans. Five minutes prevents five-figure repairs.Your Home, Fully Protected
Water stays where it belongs. Tiles shine without hidden damage. Air smells fresh, not musty. You’ve built a fortress against leaks. Enjoy every shower with confidence.
Ready to start your leak-proof remodel? Get your free waterproofing consultation today.
