Bathroom Remodeling Step-by-Step: From Demolition to Finishing Touches
Execute Bathroom Remodeling San Jose Step by Step
Precision drives every decision in bathroom remodeling San Jose step by step. Each phase prevents failure. This guide details why specific actions ensure durability, code compliance, and value retention.Step 1: Budget and Design Planning
Define scope before demolition. Accurate planning prevents mid-project cost overruns. Bay Area labor averages $85–$150 per hour. Use the average bathroom remodel cost in San Jose to benchmark. Allocate 15–20% contingency for seismic retrofits and permit fees.Demolition: Controlled Removal Prevents Damage
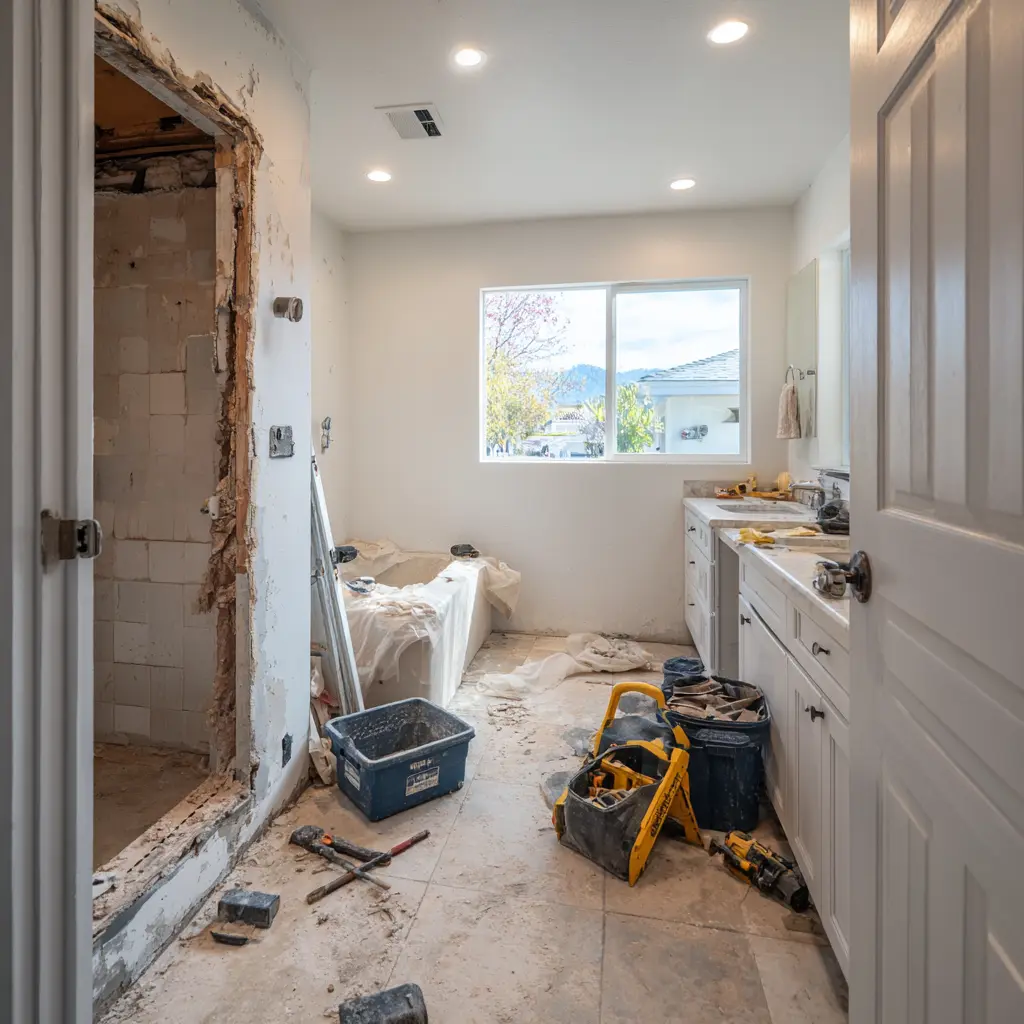
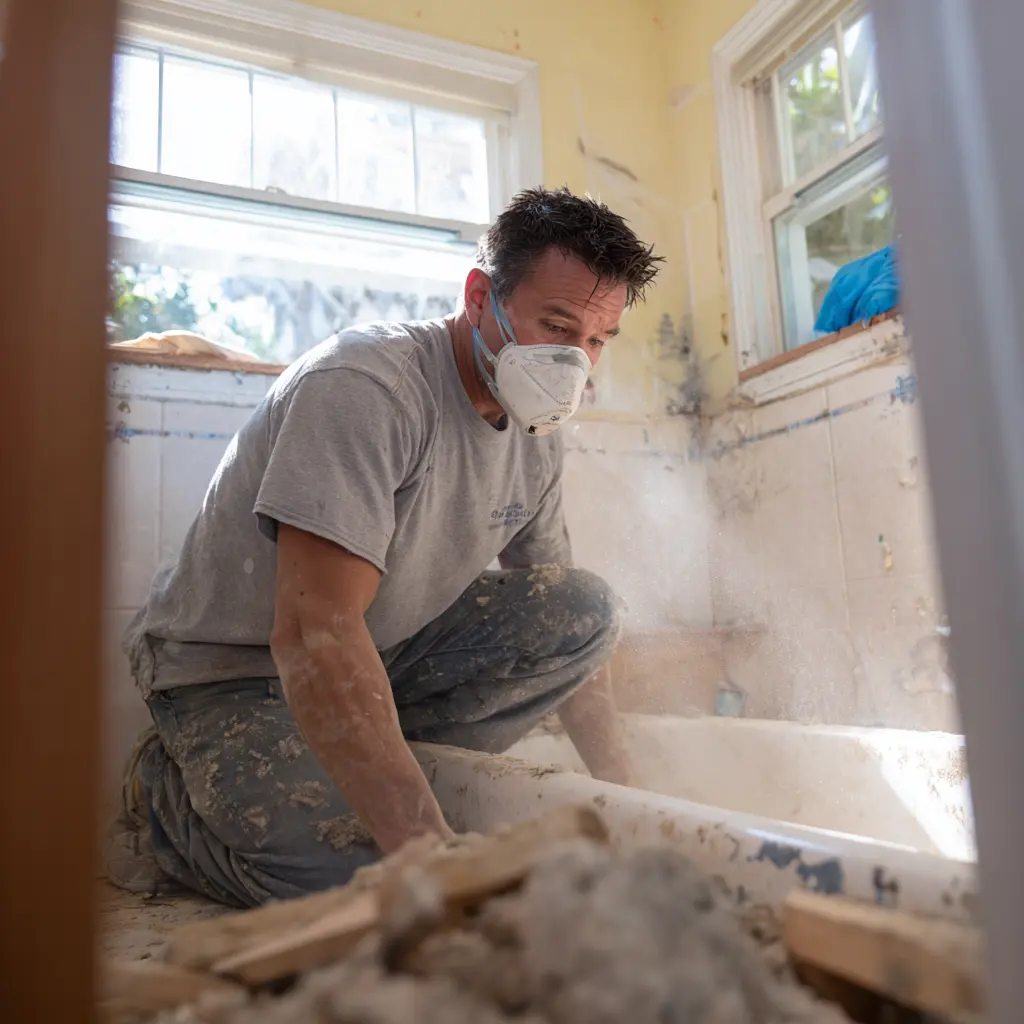
Shut off water and power at source. Uncontrolled leaks cause structural rot. Remove fixtures sequentially. This protects subfloor integrity. Inspect for asbestos in pre-1978 homes. California law mandates certified removal to avoid health risks.Why Sequence Matters in Demo
- Toilet last—reduces contamination spread
- Drywall before plumbing—exposes hidden leaks
- Subfloor inspection—detects water damage early
Rough-In: Plumbing and Electrical Compliance
Relocate drains 12–18 inches for accessibility. ADA compliance adds resale value. Upgrade to PEX piping. Copper corrodes in San Jose’s alkaline water. Install GFCI circuits. Code requires them in wet locations to prevent shocks.Critical Rough-In Standards
- PEX rated for 180°F—handles tankless heaters
- Minimum 20-amp circuits—supports heated floors
- Vent fans to exterior—removes 50+ CFM moisture

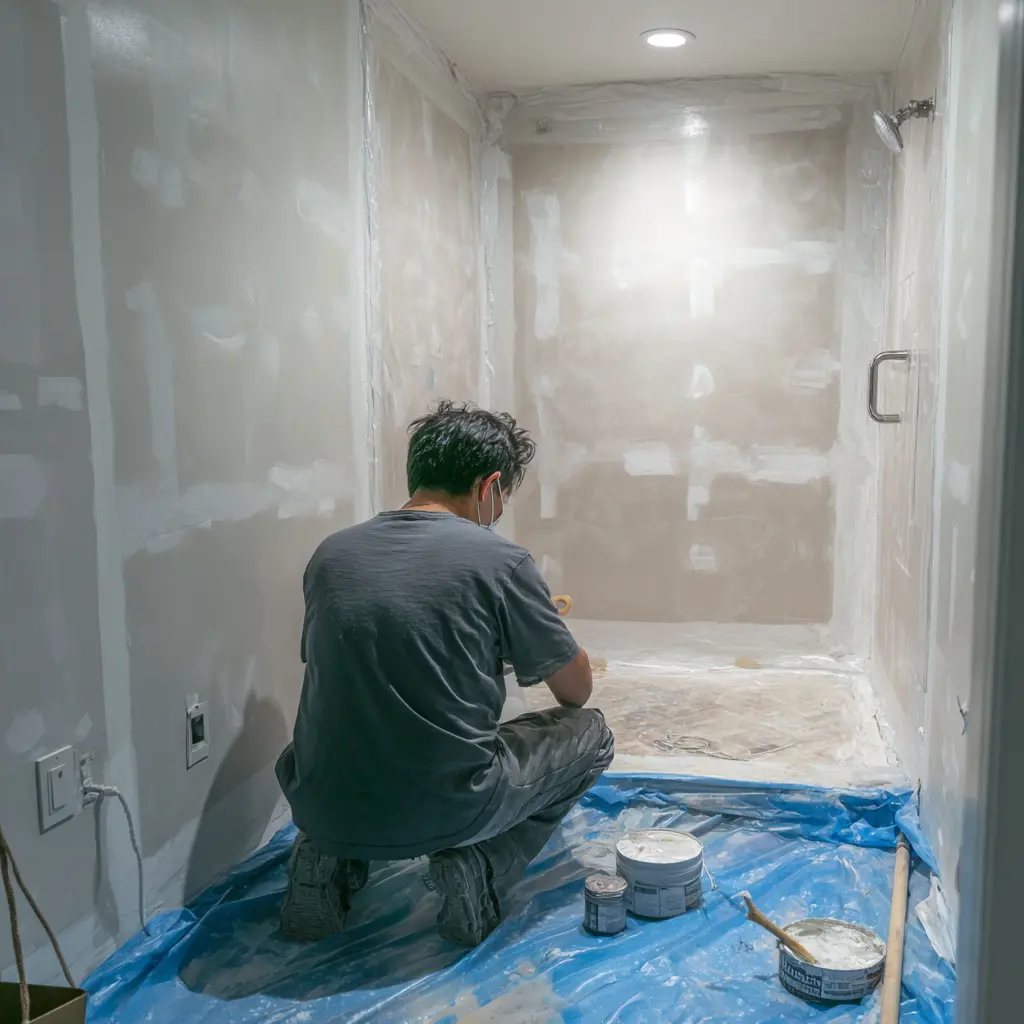
Waterproofing: Continuous Barrier Systems
Apply sheet membrane over cement board. Liquid coatings fail at seams. Slope shower pan 1/4 inch per foot. This directs water to drain. Test with 24-hour flood. Early detection prevents subfloor rot.Why Sheet Membrane Outperforms Liquid
- 100% bonded—no pinholes
- Elongation >300%—handles seismic movement
- 10-year warranty standard
Tile Installation: Structural and Aesthetic Precision
Use large-format tiles with 1/16-inch grout joints. Fewer lines reduce mold growth. Install over uncoupling membrane. This prevents cracks from floor deflection. Seal grout annually. Porcelain absorbs <0.5% water.Tile Substrate Requirements
- Deflection < L/360—prevents cracking
- Epoxy grout in showers—resists staining
- Expansion joints every 8 feet—allows movement
Fixtures: Code and Efficiency Standards
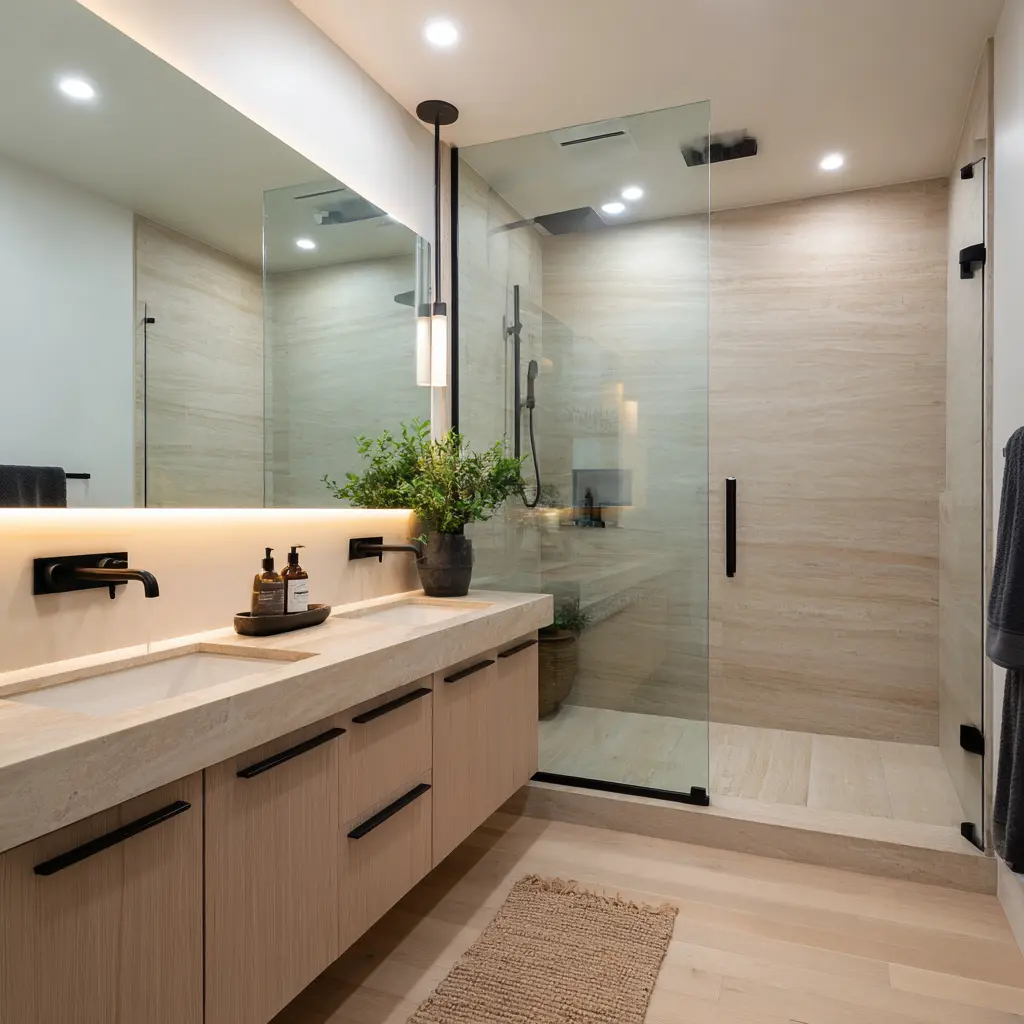
Mount vanities at 36 inches. ADA height improves accessibility. Install low-flow fixtures. California restricts 1.28 GPF toilets. Use matte black finishes. They resist water spots in hard water areas.Why Floating Vanities Add Value
- Clean 6-inch floor gap—easier maintenance
- Visual space increase—optical illusion
- Wall-mounted—frees floor for heating
Lighting and Ventilation: Health and Safety
Layer lighting at 2700K–3000K. Warm tones reduce eye strain. Install 80+ CFM exhaust. Removes humidity in 8 minutes. Use mold-resistant paint. VOC <50 g/L meets California standards.Lighting Code Requirements
- 50 lumens per square foot—task areas
- IP65 rated fixtures—shower zones
- Timer switches—ensure ventilation
Final Inspection and Maintenance
Test all systems under load. Document with photos. Follow the post-remodel maintenance checklist. Annual inspections prevent 90% of failures.Why Documentation Matters
- Proof for warranty claims
- Resale disclosure compliance
- Insurance documentation